Step by step joomla installation
Step by step joomla installation, with database connection,
Step-1:
I. In very first you can download joomla setup from joomla website www.joomla.org
II. Then before install the joomla, we have some procedure,
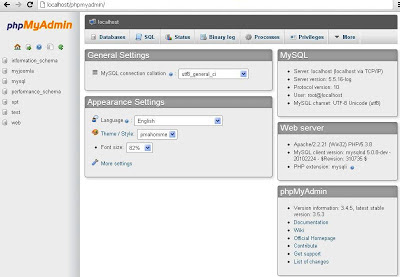
1. First you create database in your Server or localhost in phpMyAdmin,
 |
| Welcome2learn |
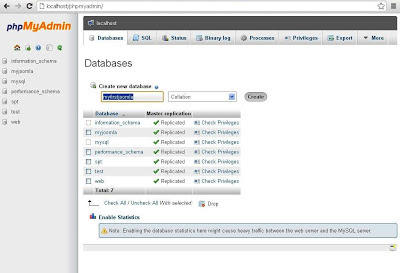
2. Select Database & Create a New Database in PhpMyAdmin with needed db name,
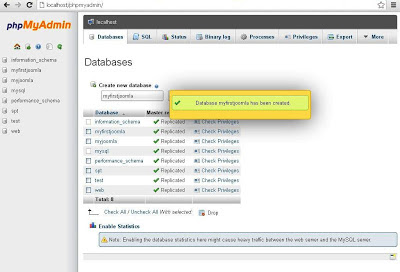
3.And your Database (db) will successfully created will screen appear,
Step- 2:
I. Select Your joomla package in your localhost window, in first you put your downloaded joomla file in www folder on your localhost,
Step- 3:
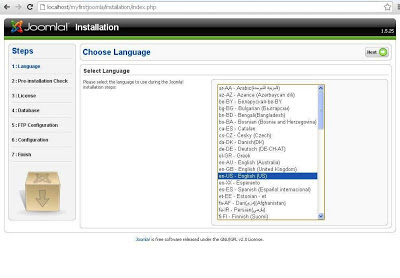
First Step in Joomla Installation you can choose your language & Click next,
Second Step is Pre-installation check, so you can directly click to the Next button,
Step- 5:
Third step is license process, so can give accept the term & condition after reading properly, then click next,
Fourth step is database configuration, normally we use mysql database so you can select mysql go to click next,

Normally you give this details,installation page go automatically on next step, but if any database error occur on their you can give this details, give host name on root & password should be empty,
Step- 8:
Fifth Step is FTP Configuration, if you have FTP account details you can fill it,otherwise skip this step & click next,
Step- 9:
Sixth Step is Main Configuration,in this step you give a following details like site main, email address etc, then select sample data also,
Step-10:
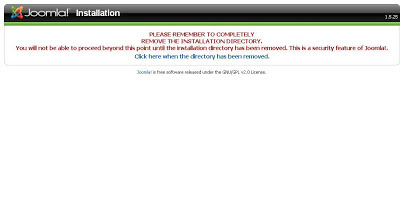
Then Final Seventh step is finish, after finish the installation you can remove the installation directory, normally they will be automatically removed in newer version,otherwise you can go to www folder on drive installation folder will be on there in your joomla content so delete that file,then your site will be ready.
Then Finally Remove the installation directory file your site & admin control panel will appear, then you enter the username & password details go to use joomla CMS content...
I Hope this tutorial should be useful to you guys...
i am not well in this subject, i'm also beginner for joomla,if u find any mistake kindly reply me, i will try to change my error, then i cannot give any warrant for this tutorial, just i share my experience...Thank you...Have A Nice Day Guys...





0 comments:
Post a Comment